Why Prep Work Is the Secret to a Lasting Exterior Paint Job in Rochester
Exterior paint rarely fails because of color choice. It usually fails because the surface underneath was dirty, damp, loose, or damaged. In Rochester, Minnesota, careful preparation helps your home withstand moisture, winter cold, summer heat, and repeated seasonal changes.
Skipping prep may save time at the beginning, but it often leads to peeling, bubbling, cracked caulk, and another repaint sooner than expected. Even the best exterior paint cannot perform correctly when the surface beneath it is not ready.
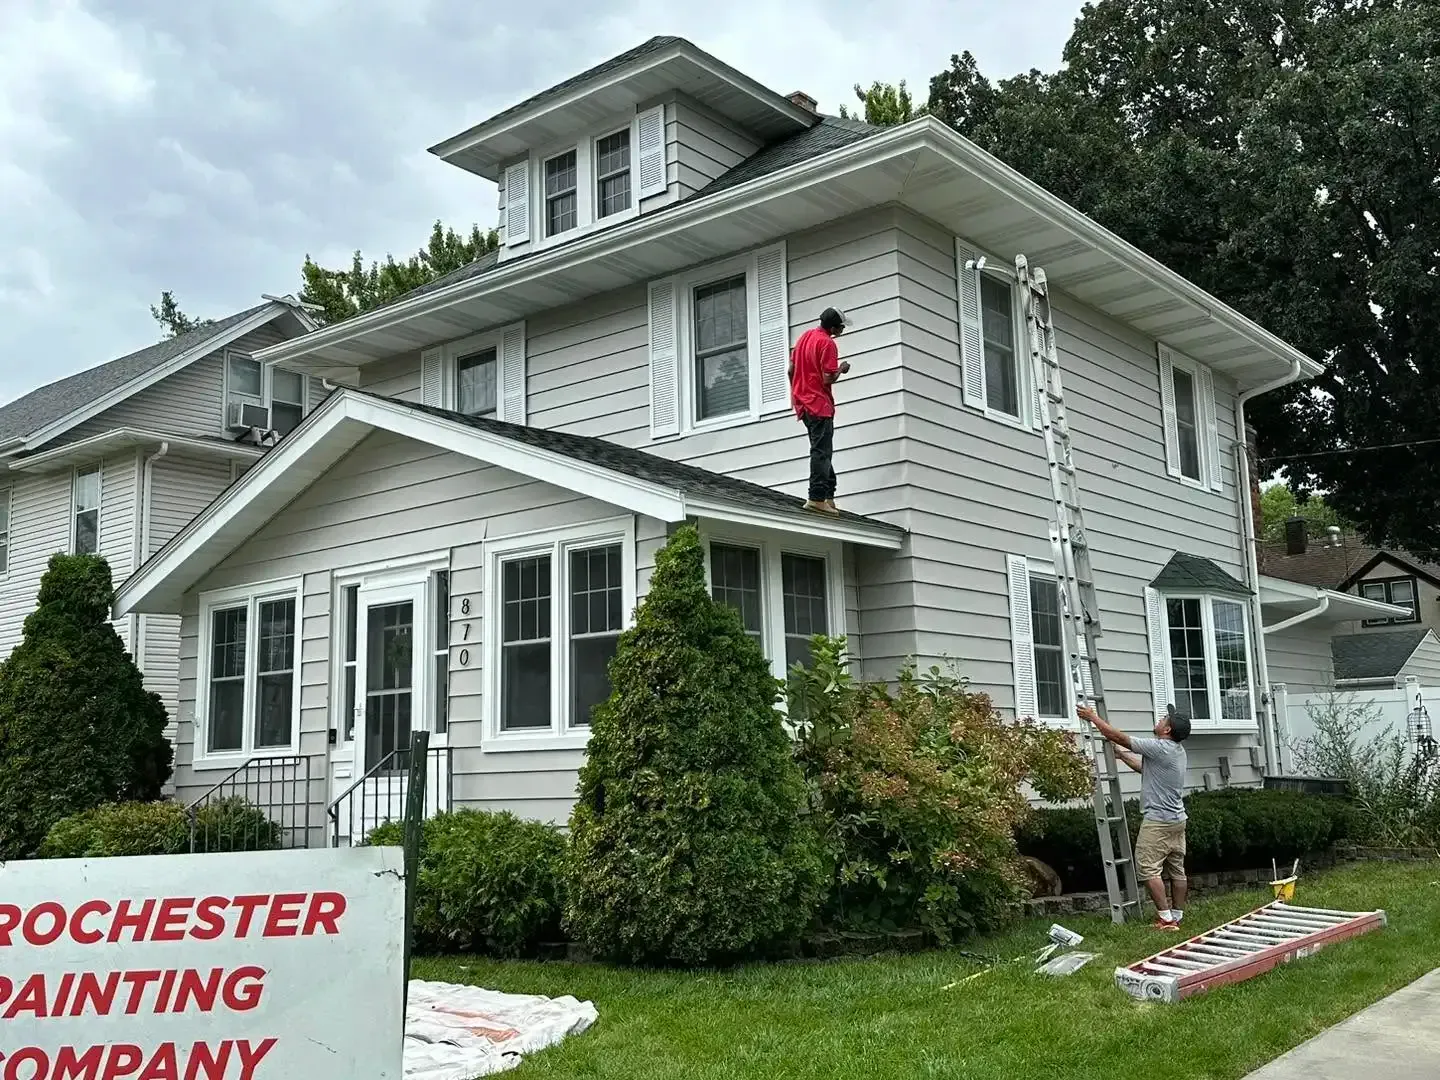
At Rochester Painting Company, we treat preparation as the foundation of every exterior project. Before we open a can of finish paint, we inspect the surface, identify problem areas, and determine what your home needs for a durable result.
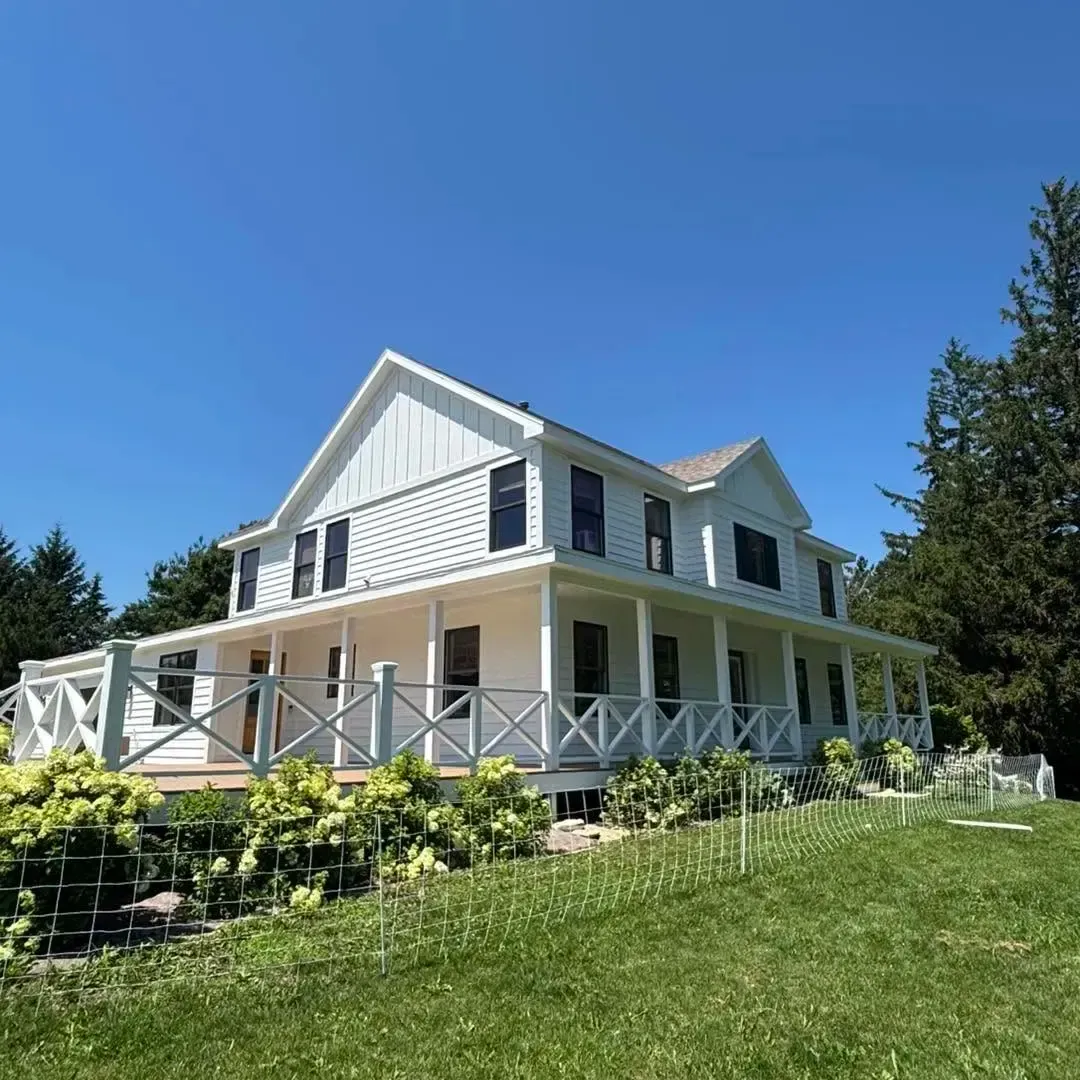
Why Exterior Paint Preparation Matters
Exterior paint needs a clean, dry, and stable surface to form a strong bond. Painting over dirt, chalk, mildew, loose paint, moisture, or damaged wood simply covers the problem temporarily. The Sherwin-Williams exterior surface preparation guide also recommends that exterior surfaces be clean, sound, and dry before coatings are applied.
Think of it like putting a fresh layer of wax over a rusted car hood. The surface may look better for a short time, but the problem underneath continues to spread.
Proper preparation also reveals issues that may not be obvious from the ground, including:
- Soft or rotting wood
- Open joints around windows and doors
- Failed or missing caulk
- Rust on metal surfaces
- Moisture trapped beneath old paint
- Loose siding or trim
- Cracks that allow water to enter
Correcting these problems before painting helps protect both the finish and the materials underneath it.
How Rochester, Minnesota Weather Affects Exterior Paint
Rochester’s changing seasons place continual stress on siding, trim, caulk, and exterior coatings. Homes must handle freezing winter temperatures, snow, rain, summer heat, humidity, and major temperature changes throughout the year.
The National Weather Service climate normals for Rochester show that average winter daytime temperatures are often in the mid-20s, with overnight lows near 10 degrees. Conditions become much warmer during summer, causing exterior materials to repeatedly expand and contract.
Common weather-related risks include:
- Freeze-Thaw Movement: Moisture inside small cracks can freeze, expand, and make the damage worse.
- Rain and Snow: Water can enter through failed caulk, loose trim, or exposed wood.
- Summer Humidity: Damp or shaded surfaces may dry more slowly.
- Direct Sunlight: UV exposure can fade colors and weaken older coatings.
- Temperature Changes: Repeated movement can stress rigid, poorly bonded paint.
Good preparation gives the coating a better chance of remaining attached as your home moves through Rochester’s seasons.
What Exterior Painting Prep Work in Rochester Includes
Professional exterior preparation
removes weak material, repairs defects, and creates the right surface for primer and paint. The exact steps will depend on your home’s siding material, condition, age, and previous coatings.
1. Inspect the exterior
The process should begin with a close inspection of the siding, trim, fascia, soffits, doors, windows, and other painted surfaces.
We look for loose paint, chalking, mildew, cracks, rust, water stains, open joints, and damaged materials. Finding these problems early helps prevent unpleasant surprises after painting begins.
2. Check for moisture
Wood, masonry, and other absorbent materials must be dry enough to paint. A surface can feel dry while still holding moisture beneath the outer layer.
Professionals may use a moisture meter rather than relying on appearance alone. Painting damp wood is one of the fastest ways to cause bubbling, peeling, or poor adhesion.
3. Protect the surrounding property
Plants, windows, roofing, lighting, walkways, and nearby surfaces should be protected before cleaning or scraping begins. Ground coverings also help contain paint chips and make cleanup safer.
4. Clean the surface
Exterior walls collect dirt, pollen, mildew, dust, and chalky paint residue. These materials can prevent new coatings from bonding correctly.
Cleaning methods should match the surface. High-pressure washing is not appropriate for every home because excessive pressure can damage wood or force water behind siding.
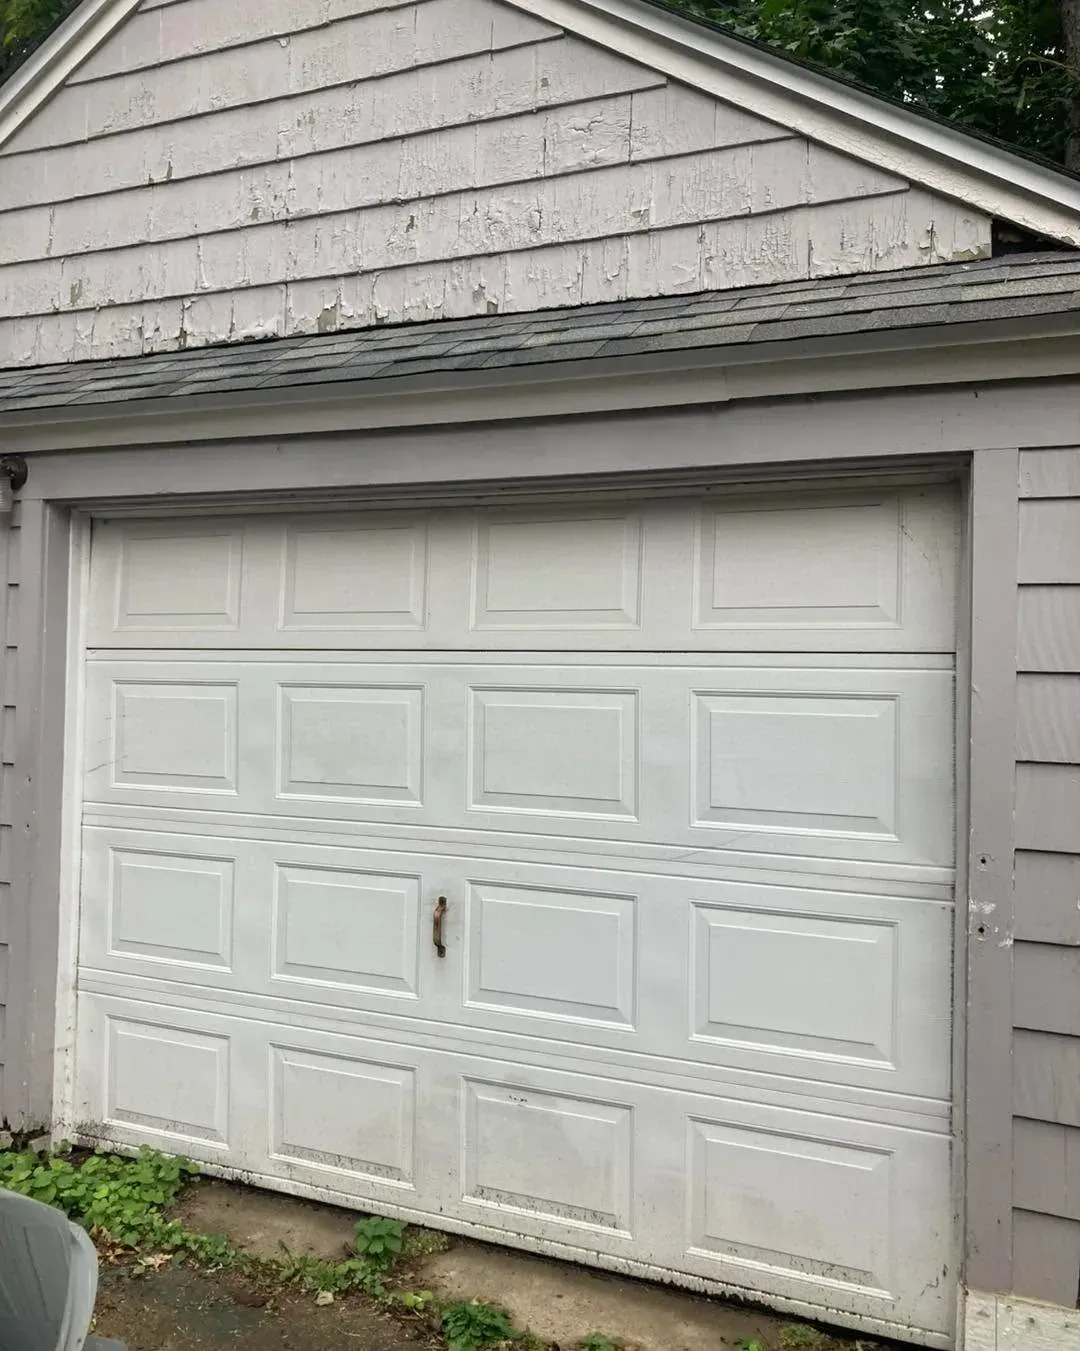
5. Scrape and sand loose paint
Loose, peeling, or flaking paint must be removed. Remaining paint edges are then sanded to create a smoother transition between painted and bare areas.
New paint should never be expected to hold down an old coating that is already separating from the home.
6. Repair damaged areas
Rotted boards, loose trim, cracks, holes, and damaged siding should be addressed before painting. Paint can protect sound materials, but it cannot restore wood that has already lost its structural strength.
7. Replace failed caulk
Gaps around windows, doors, trim, and appropriate siding joints may need fresh caulk. This helps limit moisture entry and creates a cleaner finished appearance.
However, drainage openings and areas designed to release moisture should not be sealed.
8. Prime exposed and repaired surfaces
Bare wood, stains, repairs, rust, and other problem areas may require a specific primer. The right primer improves adhesion, blocks stains, and creates a more uniform surface for the finish coats.
9. Confirm suitable painting conditions
Before painting starts, the crew should check the weather, surface temperature, humidity, rain forecast, and required drying times. Product instructions should guide application and recoating decisions.
Our residential painting services include careful preparation based on the condition of your home. You can also learn what to expect from our residential painting services in Rochester, MN.
Preparation Should Match the Exterior Surface
Different materials require different preparation methods. Treating every exterior the same can damage the surface or create adhesion problems.
| Exterior Surface | Common Problems | Typical Preparation |
|---|---|---|
| Wood siding and trim | Peeling, exposed grain, moisture, or rot | Clean, dry, scrape, sand, repair, and spot-prime |
| Engineered siding | Chalking, swelling, or failed joints | Clean carefully, repair damage, and use compatible products |
| Masonry or stucco | Cracks, residue, or trapped moisture | Clean, repair cracks, confirm dryness, and use masonry coatings |
| Metal | Rust or loose coating | Remove loose rust and paint, clean, and apply metal primer |
| Vinyl siding | Dirt, mildew, or heat sensitivity | Wash gently and apply a vinyl-compatible coating |
In some cases, scraping and sanding are enough. More severe coating failure may require professional paint removal before a stable finish can be applied.
Lead Paint Safety for Pre-1978 Homes
If your home was built before 1978, lead safety should be discussed before anyone begins scraping, sanding, or removing old paint. Disturbing lead-based coatings can release hazardous dust and chips.
The EPA Renovation, Repair and Painting Rule generally requires paid contractors working on pre-1978 homes and child-occupied facilities to use certified firms, trained renovators, and lead-safe work practices.
For exterior projects, the rule generally applies when more than 20 square feet of painted surface is disturbed, unless an exemption or documented lead-free determination applies.
Before hiring a contractor, ask how the crew will:
- Determine whether lead-safe practices are required
- Protect the ground and surrounding property
- Contain paint chips and dust
- Clean the work area
- Dispose of debris properly
Our guide to hiring a professional paint removal company explains why older coatings require appropriate equipment, containment, and safety procedures.
Primer and Premium Paint Cannot Replace Prep Work
Primer and finish paint perform best after cleaning, repairs, drying, scraping, and sanding are complete. A premium product cannot compensate for a weak or contaminated surface.
The coating system should also match the material:
- Bare wood may need a bonding or stain-blocking primer.
- Rusted metal may need a corrosion-resistant primer.
- Masonry requires products designed for porous, alkaline surfaces.
- Sound previously painted siding may only require spot priming.
High-quality exterior acrylic coatings are often a practical choice for Minnesota homes because they can handle weather exposure and normal surface movement. However, even the right product will fail when applied over loose paint or trapped moisture.
How Skipping Prep Costs More Over Time
Skipping preparation can make an estimate look cheaper, but it often moves the cost into the future. When the finish begins peeling early, correcting it may require more scraping, heavier removal, additional repairs, and another complete repaint.
Poor preparation can lead to:
- Premature peeling and blistering
- Frequent touch-ups
- Water intrusion around joints and trim
- Rotting wood beneath failed paint
- Uneven and visible old paint edges
- Higher labor costs during the next repaint
- Replacement of materials that could have been protected
When comparing painting estimates, do not look only at the number of finish coats.
Ask what is included for cleaning, scraping, sanding, caulking, repairs, priming, containment, and cleanup. Those details often explain why one paint job lasts while another begins failing after only a few seasons.
Should You Prepare and Paint the Exterior Yourself?
Small, accessible areas may be manageable when there is no lead risk, moisture damage, severe peeling, or need for tall ladders. A full exterior project is more demanding and can become unsafe or inconsistent without the right tools and experience.
Before beginning a DIY project, ask yourself:
- Can I safely reach every painted surface?
- Can I recognize rot and moisture damage?
- Do I know which gaps should be caulked?
- Could the existing coating contain lead?
- Can I protect landscaping, roofing, and windows?
- Is there enough dry weather for washing, drying, priming, and painting?
- Can I properly contain and clean up paint debris?
Professional help is especially valuable when several sides are peeling or the home needs repairs before painting. See how professional painting can transform your home while helping protect the exterior materials beneath the finish.
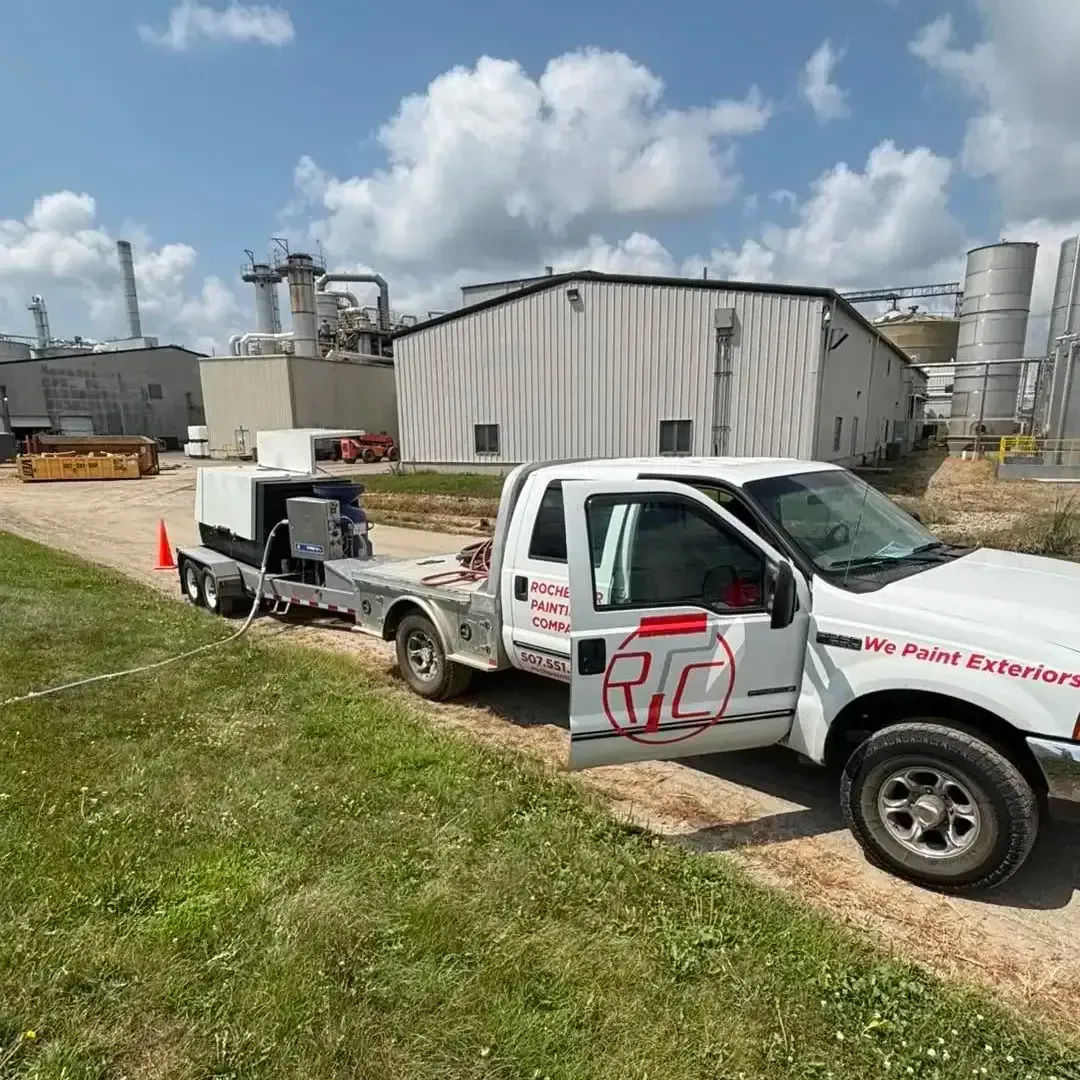
Prepare Your Rochester Home for a Longer-Lasting Finish
A lasting exterior paint job begins well before the first finish coat is applied. Careful cleaning, repairs, caulking, priming, and moisture control help your home stand up to Rochester’s winter cold, summer heat, and changing weather.
Rochester Painting Company serves homeowners in
Rochester, Stewartville, and surrounding Minnesota communities. Call
(507) 551-5262 or request an estimate to learn which areas need cleaning, repair, caulking, priming, or paint removal before your exterior project begins.
FAQs About Exterior Painting Preparation
How long should an exterior dry after rain?
There is no universal waiting period. The material, rainfall, shade, humidity, temperature, and airflow all affect drying, so the surface should be checked before painting rather than judged only by the number of hours that have passed.
Does every exterior repaint need primer?
No. Sound and compatible existing paint may not require full priming. Bare areas, repairs, stains, rust, and difficult surfaces often need spot primer or a complete primer coat.
Should every house be pressure washed before painting?
Every exterior should be clean, but pressure washing is not always the best method. Excessive pressure can damage wood, loosen siding, or force water behind the exterior surface.
How can I tell whether my old paint contains lead?
You cannot confirm lead content by looking at the paint. If your home was built before 1978, ask about EPA-recognized testing and lead-safe work practices before the coating is disturbed.
Is repainting better than replacing siding?
Repainting can be a cost-effective option when the siding remains structurally sound. Rotted, swollen, cracked, or loose materials should be repaired or replaced before painting begins.
SHARE THIS ARTICLE
Recent Posts